How do you deadlift with good form?
Rep range, rest and load step from the Month6 exercise catalog; last updated .
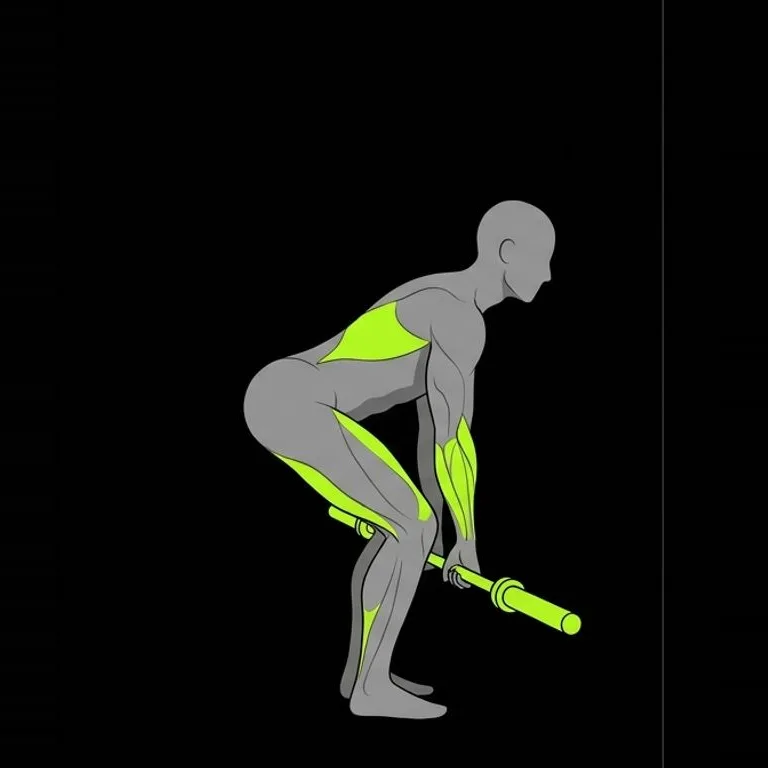
1 Set the grip, brace the core
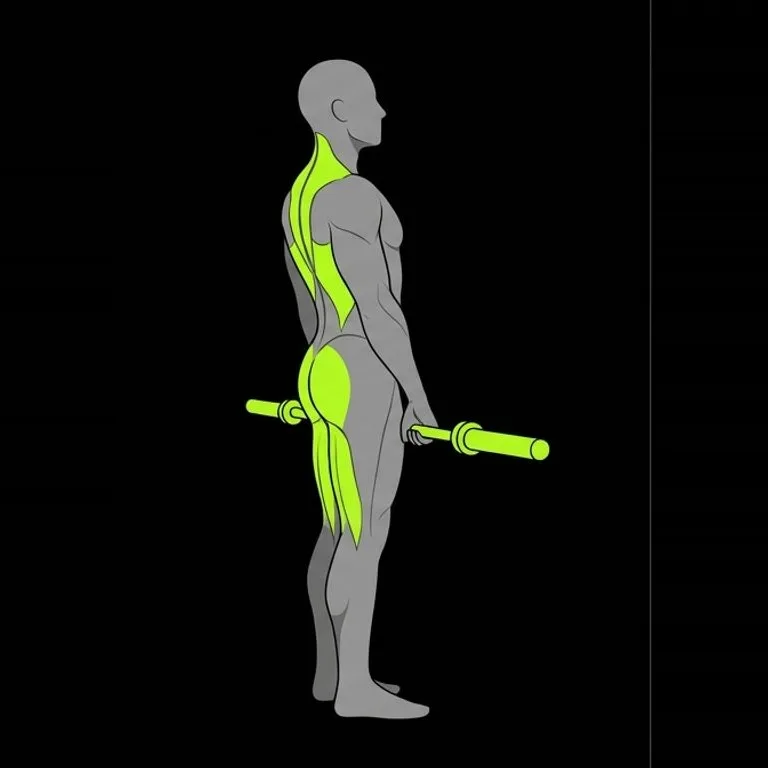
2 Pull with the elbows to full contraction
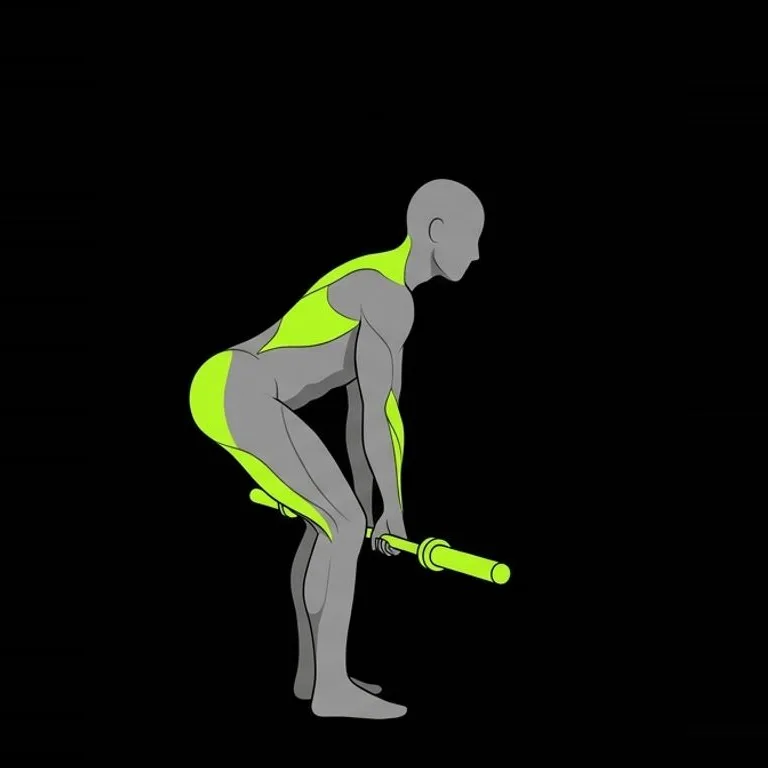
3 Control the stretch back
Deadlift at a glance
| Deadlift | |
|---|---|
| Primary muscles | glutes, hamstrings, spinal erectors along the lower and middle back |
| Also works | quads, lats, upper back and traps, forearms and grip |
| Equipment | Gym (barbell, cable or machine) |
| Rep range | 6–10 reps |
| Rest between sets | 2.5 minutes |
| Load step | 2.5 kg (5 lb) |
The conventional deadlift is the plainest strength test in a gym: a loaded barbell rests on the floor and you stand up with it. There is no rack, no bench and no momentum to borrow. Every rep starts from a dead stop, which is where the name comes from, and that is what makes it so honest. Either the whole chain from your grip to your feet works together, or the bar stays where it is.
People train it because it loads more of the body at once than almost anything else. Your glutes and hamstrings drive the hips forward, your back holds its shape against the pull, your lats keep the bar tight to your legs and your hands have to hang on throughout. It builds a strong posterior chain and a firm grip, and the barbell lets you add weight in small steps for a long time.
How to set up
- Walk up to the bar until it sits over the middle of your foot. Looking down, the bar should cut across your shoelaces, roughly where the laces meet the rest of the shoe.
- Set your feet about hip width apart, the stance you would use for a standing jump, with your toes turned out only a little. A narrow stance leaves room for your arms to hang straight down outside your knees.
- Hinge at the hips and reach down to grip the bar just outside your shins. Use a double overhand grip for as long as you can hold it; it keeps both shoulders even and trains the hands.
- Bend your knees until your shins touch the bar, then lift your chest so your back flattens into a long, neutral line from your head to your hips. Your shoulders should sit slightly in front of the bar and your hips somewhere between your knees and shoulders.
- Take a big breath into your belly and brace as if someone were about to poke you in the stomach. Pull up on the bar just enough to hear it click against the plates. Now the slack is gone and the lift can begin.
How to do the deadlift
- Push the floor away with your whole foot. Think of the first part of the pull as a leg press: the knees straighten, the bar leaves the ground and your back angle stays the same until the bar passes your knees.
- Keep the bar dragging up your shins and thighs. Any gap between the bar and your legs makes the load feel far heavier and pulls you forward onto your toes.
- Once the bar clears your knees, drive your hips forward into the bar until you stand tall. Squeeze your glutes to finish. Your shoulders end over your hips, not leaning back behind them.
- Lower the bar by pushing your hips back first, letting it slide down your thighs. When it passes your knees, bend them and set the bar down over your midfoot again, under control rather than dropped.
- Reset your brace on the floor before every rep: let the bar settle, breathe, pull the slack out and go again. Each rep is its own lift, so the last one looks like the first.
Cues that help
- Push the floor away. Thinking about the legs instead of the back gets your quads and glutes started first, so the bar breaks from the floor without your hips shooting up.
- Bend the bar around your shins. Pulling the bar towards you turns on your lats, which keeps the bar close and holds your upper back in place.
- Proud chest, long spine. A neutral back is the position the lift is built around: it lets the hips and legs move the load while the trunk transmits it.
- Hips and shoulders rise together. If the two move at the same speed off the floor, your back angle holds and the legs keep doing their share.
- Stand tall, don't lean back. The lockout is finished when your hips are fully forward. Leaning back past upright adds nothing and bends the lower back the wrong way under load.
Common mistakes
- Starting with the bar out over your toes. Line it up over your midfoot before you touch it. The bar wants to travel in a straight vertical line, and that line runs through the middle of your foot.
- Hips rising first so the lift becomes a stiff-legged pull. Think of pushing the floor away instead of pulling the bar up. If the hips still shoot up, the load is heavier than your legs can start cleanly today; take some off.
- Rounding the back to reach the bar. Bend your knees more and lift your chest before you pull. If you cannot reach the bar with a flat back, raise it on plates or blocks until you can.
- Jerking the bar off the floor. Pull the slack out first so the bar clicks against the plates, then squeeze it up. A smooth start keeps your position intact.
- Letting the bar drift away from your legs. Squeeze your armpits shut and keep the bar brushing your legs on the way up and the way down.
Who it suits
The deadlift suits anyone with access to a barbell, plates and a stretch of floor who wants a heavy, progressive lift for the back of the body. It is a sensible choice for beginners as long as the first sessions are light and focused on the hinge, because the pattern is simple once you have felt it.
If you cannot get into a neutral back position at the bottom yet, if the gym has no space to pull from the floor, or if the movement hurts anywhere, stop and take one of the swaps below. A Romanian deadlift starts from the top and teaches the same hinge, and a glute bridge needs almost no setup.
How Month6 progresses it
Month6 starts the deadlift at the bottom of its range, 6 reps, and adds reps session by session until every set reaches 10.
When every set of the deadlift reaches the top of the range, the load goes up by the smallest sensible step for it — 2.5 kg (5 lb) — and the reps start again from 6.
Rest on the deadlift is 2.5 minutes: a heavy compound lift recovers better with longer breaks.
The deadlift usually moves faster than upper-body lifts early on, because it uses the biggest muscles you have. Enjoy that phase, but keep the jumps modest: the session where the weight goes up should still look like the session before it.
When reps start to slow and your back position changes on the last rep or two, the set is telling you it is close to the edge. Hold the load there until every rep looks the same, then climb again. Grip often gives out before the rest of you; train it with longer holds at the top of your final rep rather than switching to straps straight away.
Swaps
- Romanian deadlift Take the Romanian deadlift when you want the hinge and hamstring work without pulling from the floor, or when you are still learning to keep a flat back at the bottom. It starts standing, so you control the depth.
- Barbell row Take the barbell row when the day calls for back work but a heavy pull from the floor is too much, for example after a hard leg session. It keeps the hinged position while the arms and upper back do the moving.
- Dumbbell Romanian deadlift Take the dumbbell Romanian deadlift when there is no free barbell or platform. The dumbbells hang at your sides or in front of your thighs and let you find the hinge with lighter, easier-to-handle loads.
- Glute bridge Take the glute bridge when you want to train the hips without loading your back at all, or when you have no barbell. Lying on the floor, you can still drive the hips hard and add a pause at the top.
Questions
Related exercises
More back exercises: Back · the whole library
Technique guidance for healthy adults, not medical advice; stop if a movement hurts. How every number is made, with its citations: Sources & method.
Log it, and let the plan move with you
Month6 logs every set of the deadlift in one tap, offers the swap when the station is taken, and adds load when you reach the top of the range.